Rating:
Information injector assy Denso
Product
Injector
Vehicle engine
TRUCK J08C
Engine
J08C
Serial start-end
9603-
Info
Injector Nozzle
Compare Prices: .
As an associate, we earn commssions on qualifying purchases through the links below

1 Pc Injector 095000-0041/095000-004/23910-1012 095000-0042 Compatible With Hino TRUCK J08C Engine
TinYoo Durability: made of quality materials to ensure long-term durability || Convenient: simple installation, no need for professional tools, quick replacement of old parts || Advantages: Fuel injector accurately controls fuel, improving engine performance, fuel efficiency and emission reduction effect || Quality: After strict testing, the reliability and performance of the fuel injector are ensured || 1 Pc Injector 095000-0041/ 095000-004 /23910-1012 095000-0042 Compatible With Hino TRUCK J08C Engine
TinYoo Durability: made of quality materials to ensure long-term durability || Convenient: simple installation, no need for professional tools, quick replacement of old parts || Advantages: Fuel injector accurately controls fuel, improving engine performance, fuel efficiency and emission reduction effect || Quality: After strict testing, the reliability and performance of the fuel injector are ensured || 1 Pc Injector 095000-0041/ 095000-004 /23910-1012 095000-0042 Compatible With Hino TRUCK J08C Engine
Components :
Scheme #.#:
№
Qty
Part num
Name
Remarks
Manufacture num
000
[01]
09500-00042
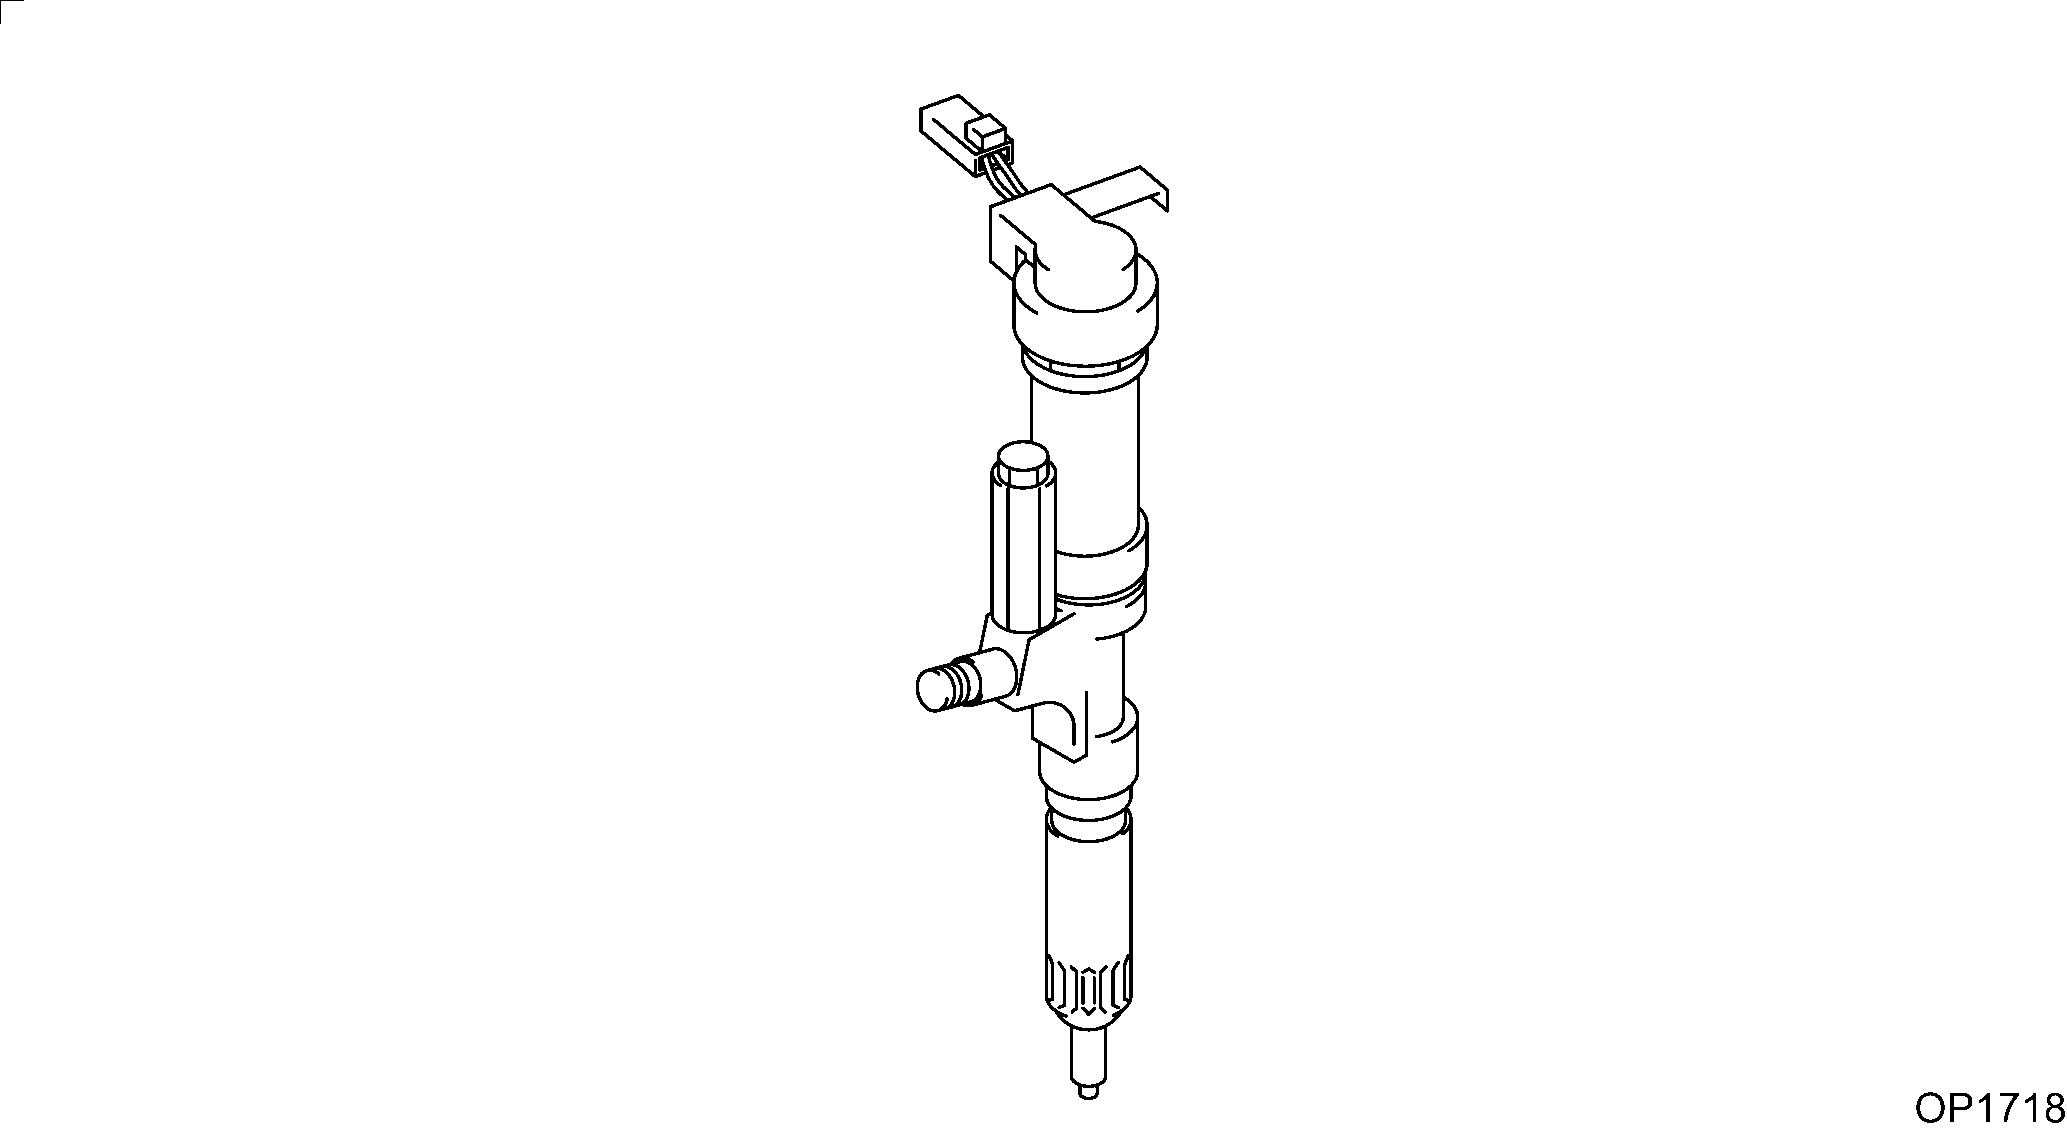
INJECTOR ASSY
-0706
23910-1012
HINO
000
[01]
09500-00042
INJECTOR ASSY
0706-
S2391-01012
HINO
Include in ##:
09500-00042
as INJECTOR ASSY
09500-00042 INJECTOR ASSY
Nozzle Specification:
Parts number
0950000042 HINO
Nozzle
First opm
First op
Second om
Second op
Torquen
Torque
Prelift
Max lift
Engine
RANGER J08C
Information
Cross reference number
Part num
Firm num
Firm
Name
09500-00042
23910-1012
INJECTOR ASSY
Information:
3. Remove the connecting rod caps (1) from these pistons, and push the pistons upward until the rings clear the cylinder liner. 4. Remove the two pistons.5. Repeat Step 2 through 4 for the remaining pistons.Install Pistons
1. Thoroughly lubricate the crankshaft bearing journals and cylinder liners with clean SAE 30 engine oil.2. Lubricate the piston rings and connecting rod bearings with clean SAE 30 engine oil. 3. Using compressor (A), install the pistons with "V" mark on piston aligned with "V" mark on cylinder block. Guide the lower end of the rod over the crankshaft journal to prevent damage to the crankshaft.4. Lubricate the threads of cap retaining bolts with clean SAE 30 engine oil.5. Position the caps on the connecting rods, and install retaining nuts. Tighten nuts initially to 30 3 lb. ft. (4,1 0,4 mkg). Mark the nut and end of bolt, and tighten nut an additional 90° from mark.
When installing connecting rod cap, be sure that the number marked on side of cap is adjacent to and corresponds to the number marked on side of connecting rod.
6. Rotate the crankshaft until the next two bearing journals are at bottom dead center.7. Repeat Steps 2 through 5 for the remaining two pistons.concluding steps: a) install oil pumpb) install cylinder head assemblyDisassemble Pistons
preparatory step: a) remove pistons 1. Remove piston pin retaining rings (2).2. Remove piston pin (1) and remove piston from the connecting rod. 3. Remove the piston rings using ring expander (A).Assemble Pistons
1. Using ring expander (A), install the piston rings. The two compression rings are marked "UP - 1" and "UP - 2". The rings must be installed with these marks toward the top of the piston with "UP - 1" being the top ring. After all three rings have been installed on piston, stagger the ring caps 120° apart.2. Lubricate the piston pin with clean SAE 30 engine oil. 3. Position the piston on the connecting rod with the "V" mark (2) on the piston and number (1) on the connecting rod on the same side.4. Install the piston pin retaining rings. Make certain the retaining rings are seated in their grooves.concluding step: a) install pistons